Liquid Radiance with Tina Whiteley

Liquid Radiance Demo – Tina Whiteley

Tina Whiteley is a textile artist, based in Red Hill on the Mornington Peninsula. Tina loves sharing her wealth of knowledge and diverse skills with others. In this demo Tina treated us to a smorgasbord of ideas and techniques for creating art on fabric using Liquid Radiance paints.

Liquid Radiance Paint

Liquid Radiance Paint produced by Genesis Creations – concentrate and dilutions in the Genesis dispenser bottles

What Are Liquid Radiance Paints?

Liquid Radiance paints are concentrated, non-toxic colours that apply to fabric much like a paint but act like a dye. Once heat-set with an iron, the colours are permanent and washable, making them ideal for projects ranging from quilts and clothing to accessories and home décor. Available in eight brilliant hues, the paints can be diluted to create softer tones or mixed to form a full colour palette—allowing endless creative possibilities for textile artists.

One-Colour Dyeing

This straightforward technique involved applying several applications of Liquid Radiance paint to damp fabric, squeezing it out and repeating, for even, solid colour coverage. This technique is great for dyeing ribbons, threads, or laces.
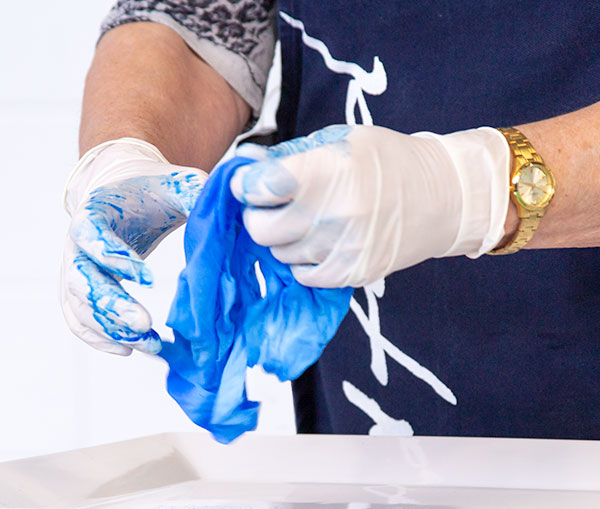
One Colour Dyeing - person working blue dye through a piece of fabric by hand.
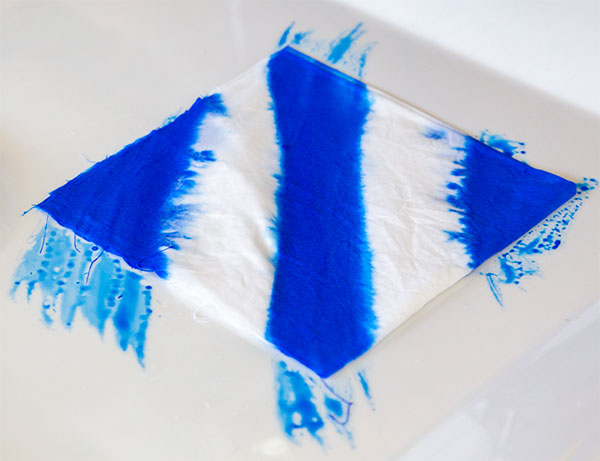
One Colour Dyeing

Geometric Patterns with Salt

Tina demonstrated how to fold fabric, then apply two colours of paint in diagonal stripes, using the Genesis dispenser bottles. She unfolded the fabric to reveal a larger geometric pattern.

Geometric patterns - first colour. Blue diagonal stripes painted across a square of white fabric.

Geometric patterns – first colour

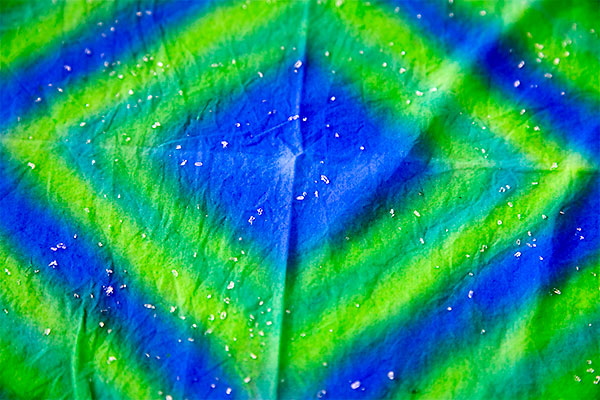
Tina then sprinkled Epsom salt over the top in a random pattern. Gradually a soft, organic looking pattern developed.

Geometric patterns - green stripes added and salt sprinkled onto the wet fabric.

Geometric patterns – second colour and sprinkled salt

Geometric pattern 3

Geometric patterns – after some hours, the salt created this beautiful organic looking pattern across the stripes.

Scrunching for Texture

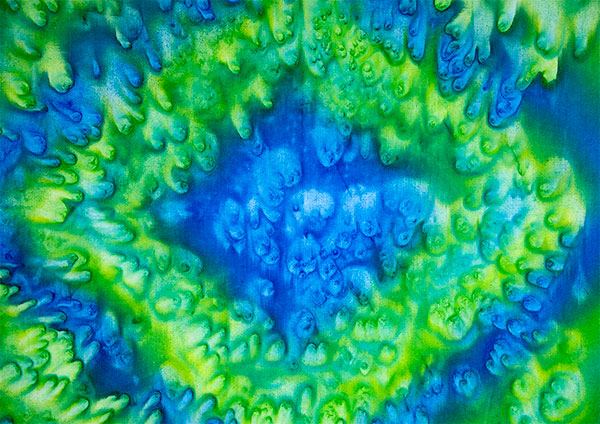
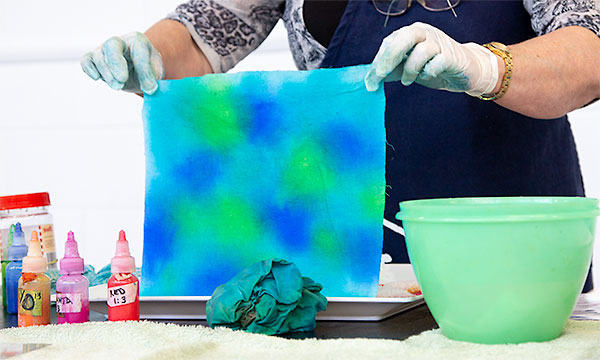
Tina showed us how scrunching the fabric creates peaks and valleys that affect how the paint dries. In the peaks where it is exposed to air, the blue paint dried darker, and in the valley areas it dried lighter, thereby creating a beautiful wavy pattern. Adding salt to the mix created even more dramatic effects.

Salted Sandwich Technique

In this seemingly magic technique, Tina showed us how to layer two or more pieces of fabric to create a “sandwich.”

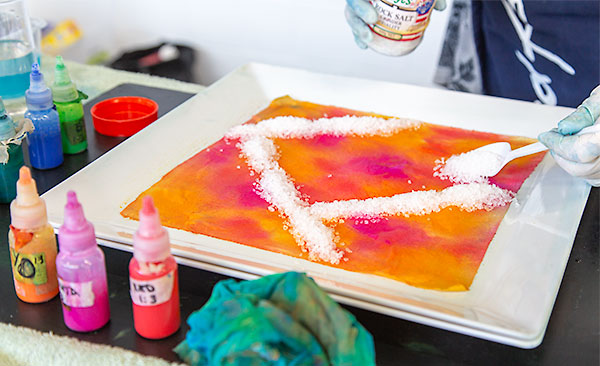
The first fabric layer was painted with warm hues and sprinkled with a rock salt pattern. A second fabric layer was painted with cooler tones and placed on top. She added a third damp fabric layer with no colour.

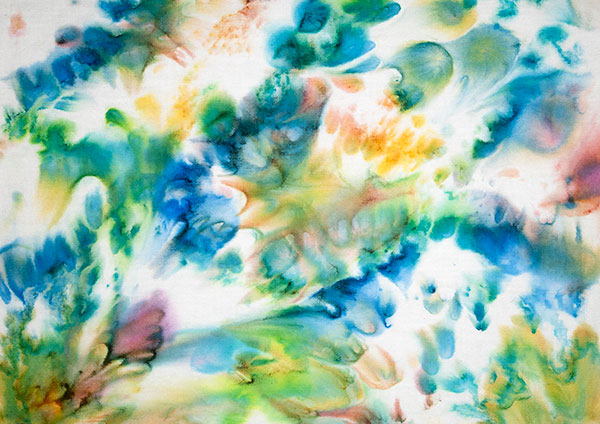
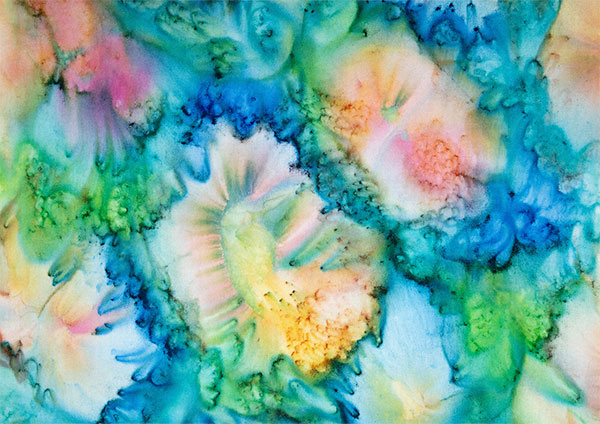
The salt drew the paint through all the layers, creating a beautiful flow of colours that resulted in stunning organic patterns in the fabrics. This process takes some time – in this case around 24 hours. Tina stressed the importance of rinsing all the salt from the fabric after dyeing, before heat setting.

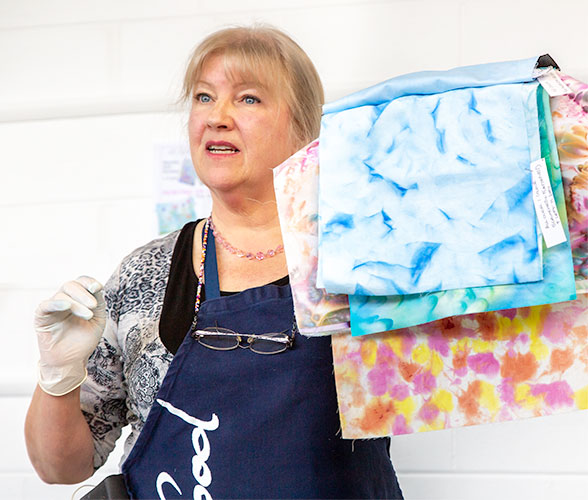
Tina Whiteley showing scrunching technique sample

Tina Whiteley showing scrunching technique sample

Salted sandwich technique - first layer dyed in warm yellows, oranges and pinks, with salt being sprinkled on top in stripes.

Salted sandwich technique – first dyed layer with salt

Salted sandwich technique - layer 2

Salted sandwich technique – a second piece of fabric painted in contrasting colours was placed above the first layer of warm colours.

Salted sandwich technique - end result. Multi-coloured abstract pattern.

Salted sandwich technique – the salt draws the underneath colours through the layers where they mingle and form lovely organic patterns.

Salted sandwich technique - end result. Multi-coloured abstract floral-like pattern.

Salted sandwich technique – these patterns took around 24 hours to develop.

Marbling and Stencilling with Shaving Foam

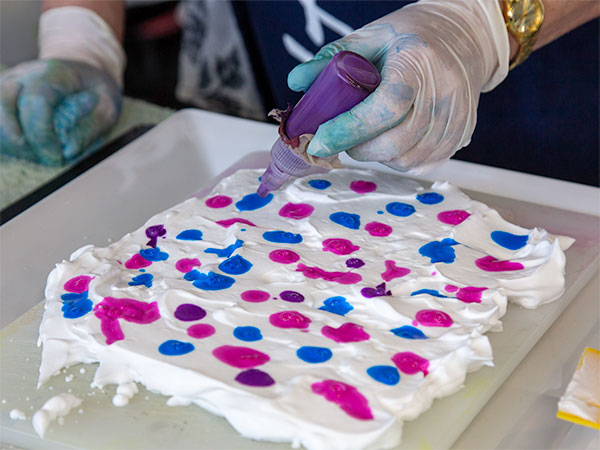
Using shaving foam as a base, Tina showed us how to create marbled and stenciled designs on fabric, reminiscent of screen printing.

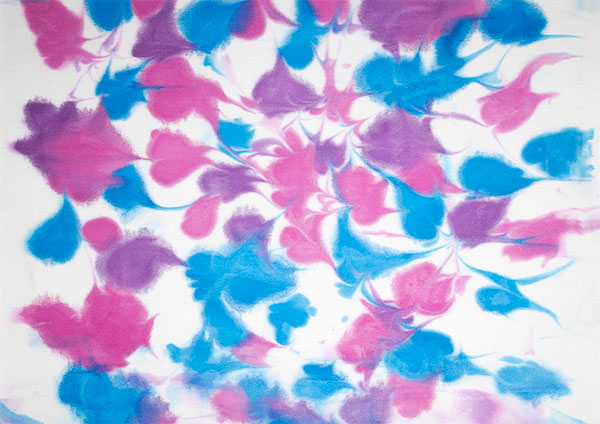
Marbling technique - applying patches of blue and pink paint to a layer of shaving foam

Marbling technique – applying paint to a layer of shaving foam

Marbling technique - end result

Marbling technique – end result

Tina used a comb to pull the dobs of paint into interesting shapes then laid a sheet of fabric on top. The dye transferred to the fabric.

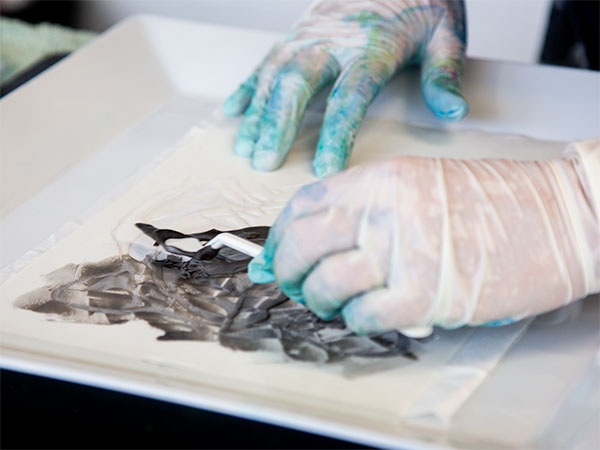
Stencilling technique - applying shaving foam mixed with black paint to stencil

Stencilling technique – applying shaving foam mixed with black paint to stencil laid over fabric.

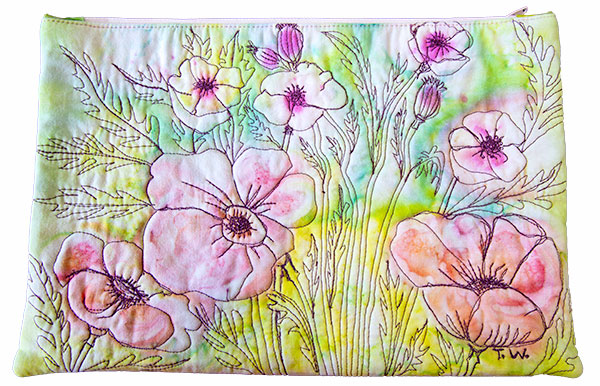
Liquid Radiance painted fabrics can be combined with a myriad of other textile art techniques to create exciting textile works.

Fabric bag created with painted fabric - byTina Whiteley. Design features flowers machine embroidered in dark thread over a painted coloured background.

Bag created with painted fabric and machine embroidery – by Tina Whiteley

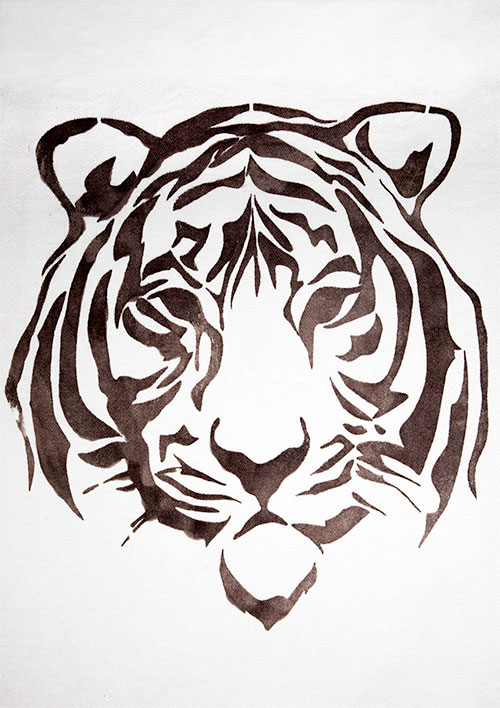
Stencil technique - end result - dark grey line illustration of a tiger's head

Stencil technique – end result

If you’d like to enjoy more of Tina’s beautiful textile art, visit her website. She also generously provides lots of fascinating and useful information on diverse aspects of textile art.