Julie Goldspink – Wet in Wet Acrylic Painting Demo

Julie Goldspink

Wet in Wet Acrylic Painting Demo

Julie Goldspink is an accomplished watercolour, acrylic and mixed media artist who has won many awards for her artwork. She is a member of the prestigious Australian Watercolour Institute and a Fellow of The Australian Guild of Realist Artists. We are lucky to have Julie as a regular tutor at Peninsula Arts Society.

Around 70 enthusiastic people attended Julie’s fascinating demo, in which she demonstrated not only wet-in-wet painting methods, but also a range of techniques for creating expressive special effects.
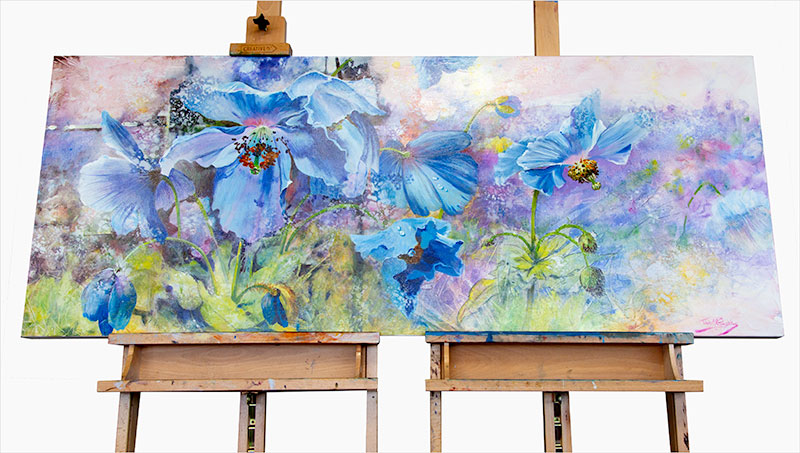
Large acrylic painting of blue flowers and foliage by Julie Goldspink

Acrylic painting by Julie Goldspink

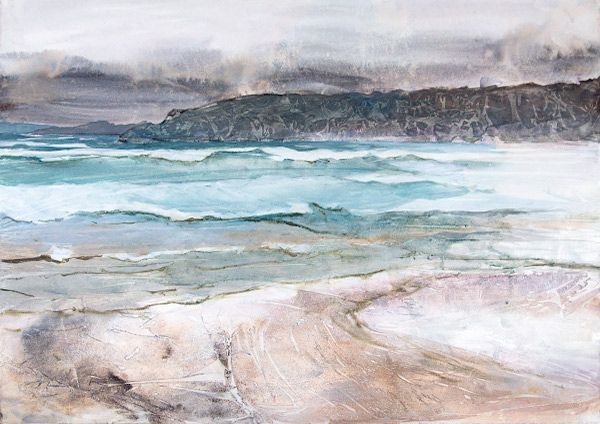
Texture rich seascape

Texture rich seascape

Julie started by showing us some previous paintings, where she had applied these techniques. For example she showed us a wonderfully textured seascape and explained she had used scrunched-up wax paper to create the texture in the cliffs and plastic cling wrap for foreground texture. In her large floral canvas shown above she used wet-in-wet washes to create the soft background and overlaid these in some areas with white paint sprayed through stencils to create detailed organic textures.

Julie likes to paint on watercolour canvas, coated with Daniel Smith Watercolour Ground, and sanded to provide optimum tooth for subsequent layers. She likes to keep the sides of her canvas a clean white so she applies masking tape to the sides before she begins painting.

Julie did caution against using large areas of acrylic inks on this type of porous surface as the ink will likely crack as it dries. You can use the inks for fine lines though.

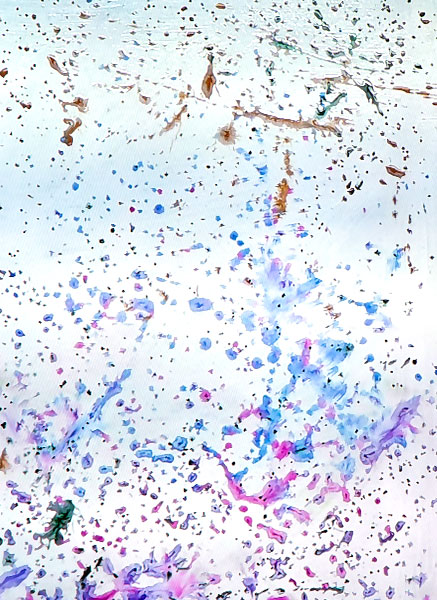
Creating a wet-in-wet background - spattered paint

Creating a wet-in-wet background – spattered paint

For her demo painting of a water lilly pond, Julie used a ground-coated canvas with an initial layer of dilute pale coloured acrylic washes over which she brushed white gesso. She used a brush to splatter drops of dilute acrylic colours over this layer, spritzing the surface with acrylic spray and rotating her canvas to encourage the colours to run and merge. She took care not to make this background layer too dark.

Julie then applied bands of plastic film (glad wrap) over the wet surface. She worked the surface to create vertical folds in the upper areas to create tree-like texture, and horizontal folds in the lower areas to create a rippled water effect. As the surface needed to dry for at least a couple of hours, and preferably overnight, Julie switched to a previously prepared canvas to continue with the next stage.

Applying plastic cling wrap to wet canvas.

Applying plastic cling wrap to wet canvas.

Using willow charcoal, which dissolves when paint is applied, Julie loosely sketched water lily pad and flower shapes across the pond’s water area surface. With a brush she painted the lily pad shapes with shades of phalo green, cerulean and pink, loading her brush with multiple colours and letting them mingle on the canvas to create beautiful colour variations within each lily pad. Julie then pressed torn pieces of scrunched-up wax paper into the wet paint, creating beautiful leaf-like textures. Julie explained that the harder you crush the paper, the more detailed the texture will be.

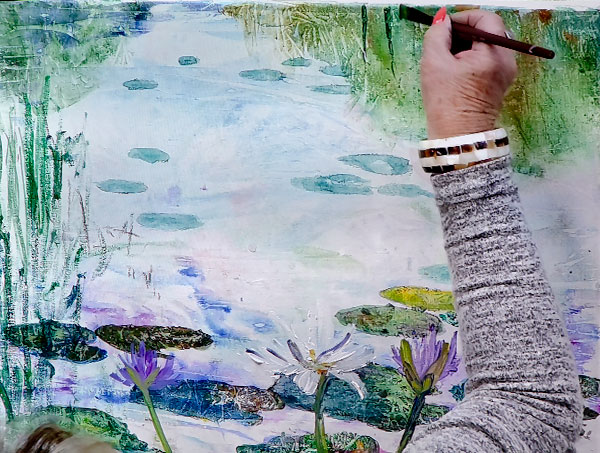
Julie then went on to paint impressions of surrounding foliage using loose and varied brushstrokes. Julie commented that good old fashioned skilled brushwork is still critical in tying together the diverse textures created with alternative methods.

Lily pad textures created with scrunched wax paper

Lily pad textures created with scrunched wax paper

To enhance the mauve waterlily flower Julie brushed in some vibrant purple pearlescent liquid acrylic.

Painting in foliage with a brush.

Painting in foliage with a brush.

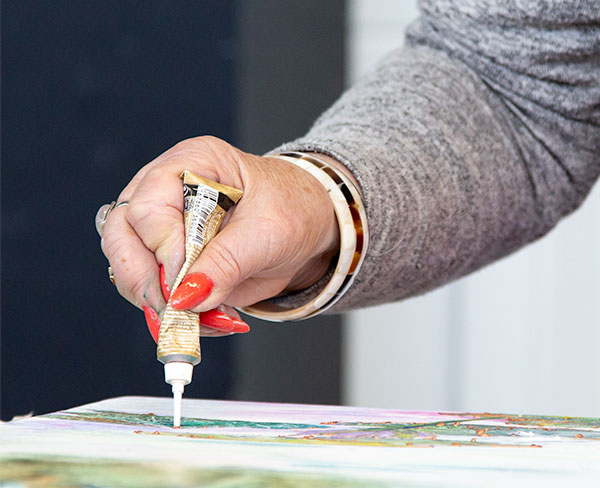
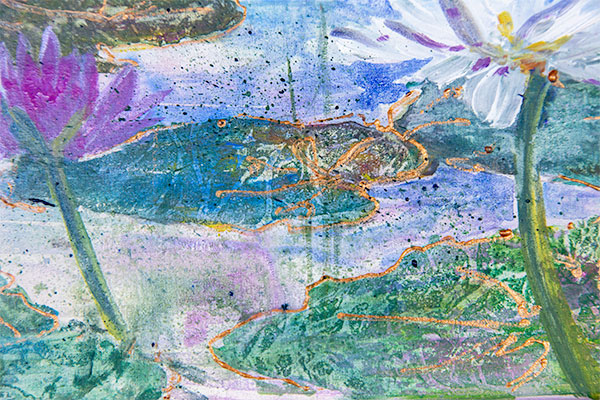
Around the lily pads she drew expressive outlines with a metallic copper enamel paint applicator.

Outlining lily pads with loose metallic copper lines

Outlining lily pads with loose metallic copper lines

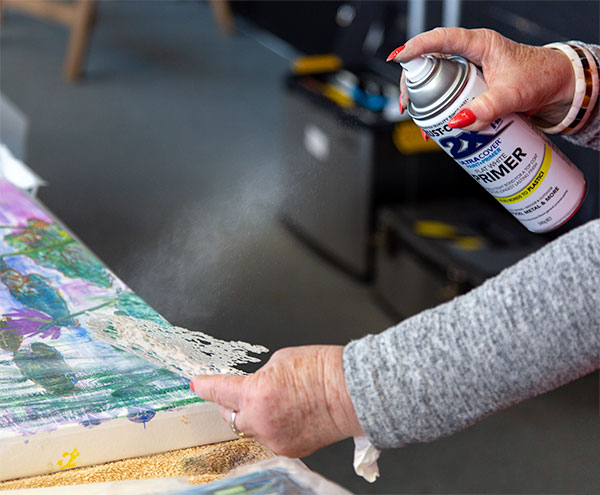
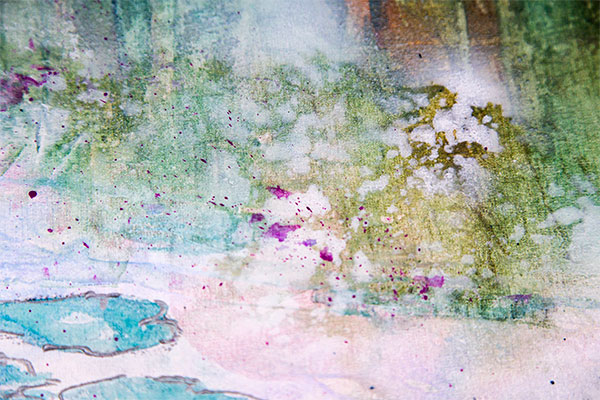
To create beautiful subtle organic textures in the upper water areas Julie sprayed white surface primer through a ”doily” stencil.

Spraying white paint through a stencil

Spraying white paint through a stencil

Detail showing metallic copper outlines around lily pads and spattered texture across foreground.

Detail showing metallic copper outlines and spattered texture

For a final touch Julie spattered drops of paint across some of the surface with a very large ”tooth brush”.

Stencilled texture

Stencilled texture

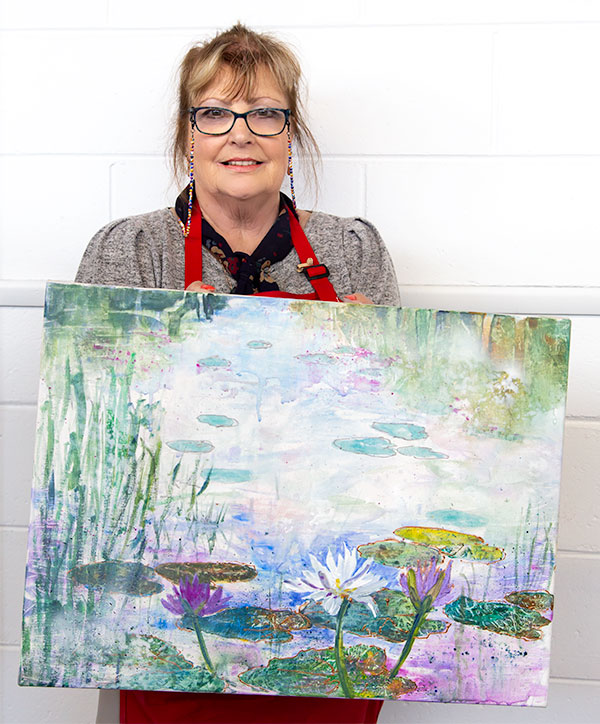
All these techniques came together beautifully in the end resulting in a convincing expressive impression of a water lily pond.

Julie with her completed painting of a watercolour pond

Julie with her completed painting

Julie’s demo was loaded with useful tips and techniques and she impressed us with her well-honed skills in handling a range of media and techniques. No doubt the audience went home feeling inspired to experiment, loosen up and take their painting to a more expressive level. Julie is running a workshop focusing on these techniques on Sunday April 13. See more information …

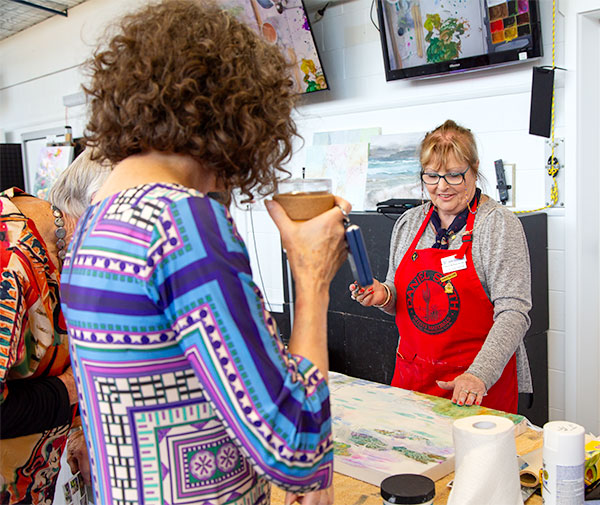
Audience members taking the opportunity to ask questions during the break.

Audience members took the opportunity to ask questions of Julie during the break.