Greg Allen – Watercolour Painting Demonstration
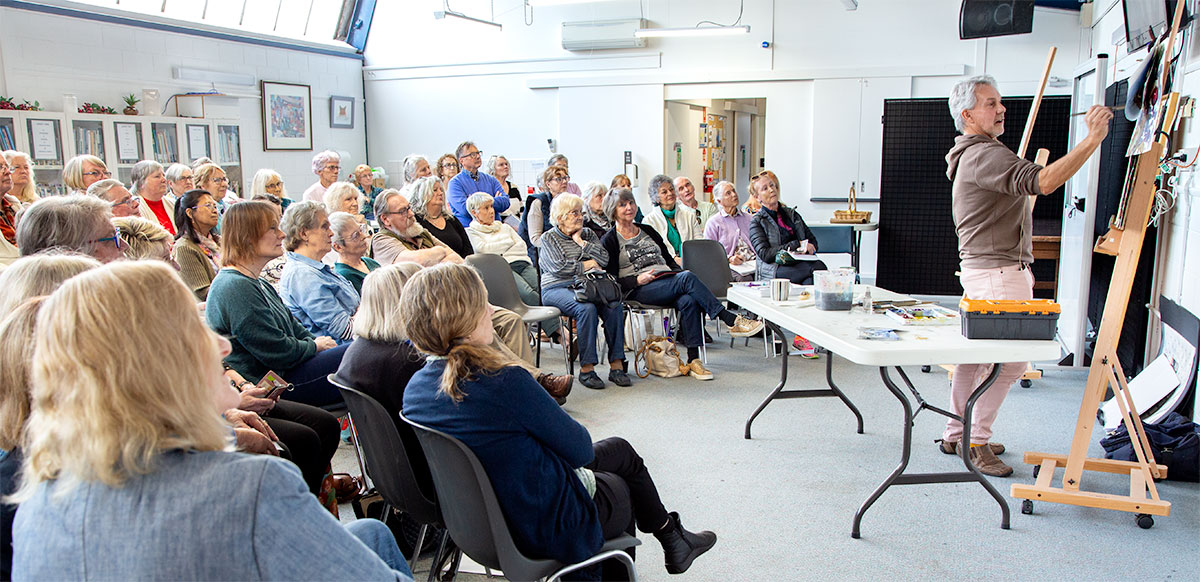
Greg Allen Demo at Peninsula Arts Society

Greg Allen Demo at Peninsula Arts Society
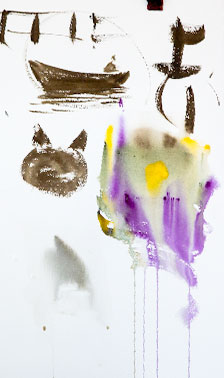
Painting deliberately versus letting the watercolour do the work.
Greg began his demo with some graphic demonstrations of his mantra ”Let watercolour do the work”. Using a brush with dark paint he loosely but deliberately painted a boat and cat’s head, much in the manner of oil or acrylic painters. Then by contrast, he wet the paper and dropped colour into the wet area. The colours ”exploded” outwards and mingled together creating pleasing soft transitions, something that other mediums struggle to achieve. The aim, he says, is to harness this unique property of watercolour, not try and control it. This takes zero effort but lots of knowledge and experience. He showed us how easily you can depict a rain cloud using this wet-in-wet method.
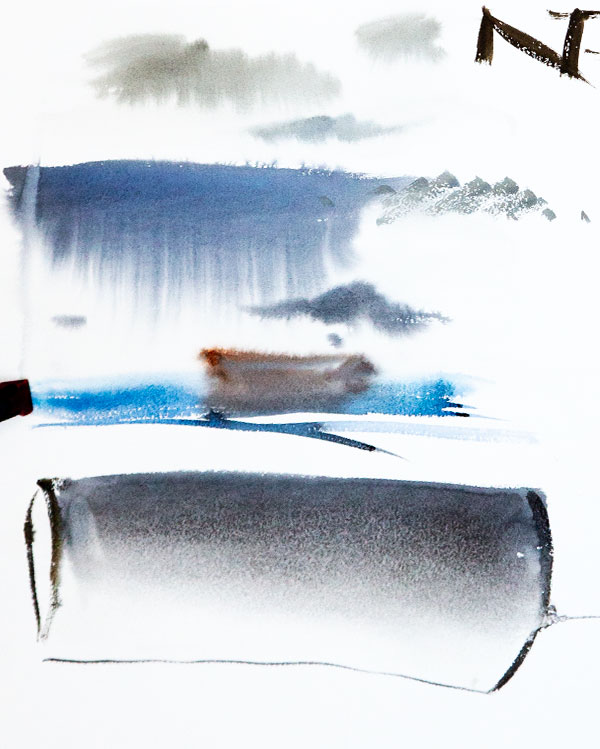
A cloudy rainy sky and a tube, both formed using a similar wet-in-wet wash technique.
Greg explained that just about any subject can be broken down into a combination of 5 basic forms – tube (cylinder), cone, box, sphere, and hemisphere (a sphere cut in half). To convince us, he created a quick sketch of ”Puffing Billy” (an iconic Australian steam train) and a tree comprised of several tubes. He used the same wet-in-wet wash technique to add shading to the tubes, thereby creating the impression of a 3D object.
Tree trunks and branches can also be seen simply as a series of tubular forms and painted in the same way. Greg showed us one of his paintings depicting a multi-stemmed gum tree noting that each trunk is essentially just a shaded tube.
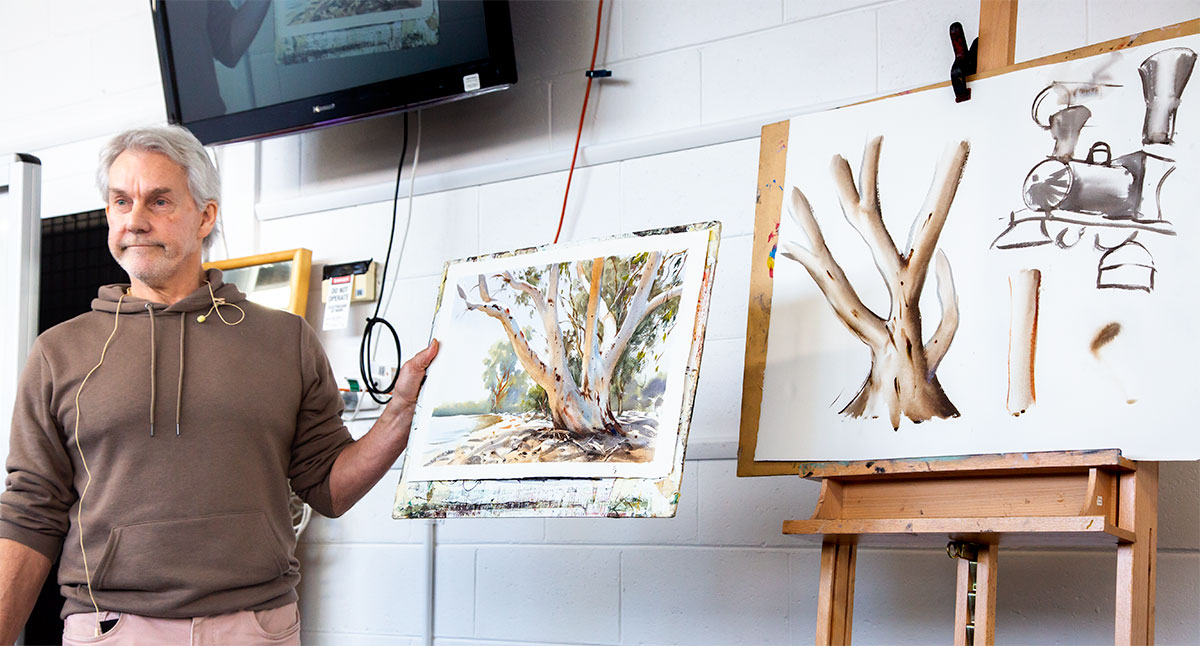
Explaining how trees can be thought of as a series of tubular forms.
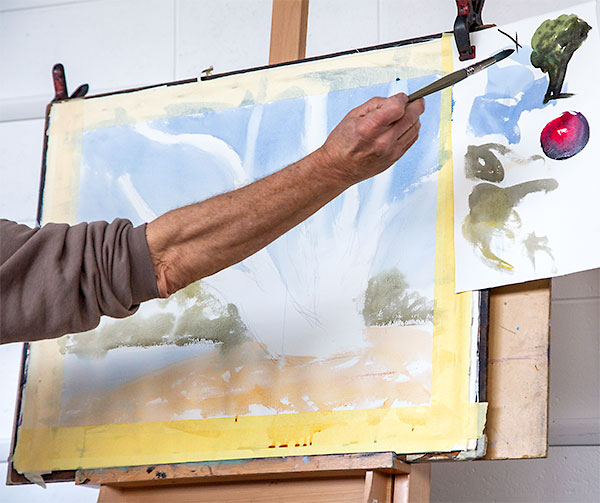
Blocking in the background and foreground with broad washes, while noting the direction of the sunlight.
In the second stage of Greg’s demo he recreated a similar painting, applying the principles he had explained so eloquently to us.
He began by blocking in the major components of the background and near foreground in light, loose washes of colour, leaving the tree trunks unpainted. He drew our attention to the importance of establishing the direction of sunlight in the scene, which will determine which area of a given form will be in shade. As a rule of thumb, the vertical objects in a scene are generally the darkest.
He also stressed the importance of always testing colours on a spare piece of paper before applying them to the artwork, as watercolours look darker in the palette that they will appear on the paper. Moreover the colours you add to the paper will dry around 10% lighter. If you lift some of the wet paint off the paper with a damp brush, the underneath shade will approximate the colour when dry. It is critical to get the correct tonal value with the first application of paint. Trying to paint over the initial wash to darken it only results in overworked, muddy colours. You lose the beautiful transparency that is watercolour’s best feature.
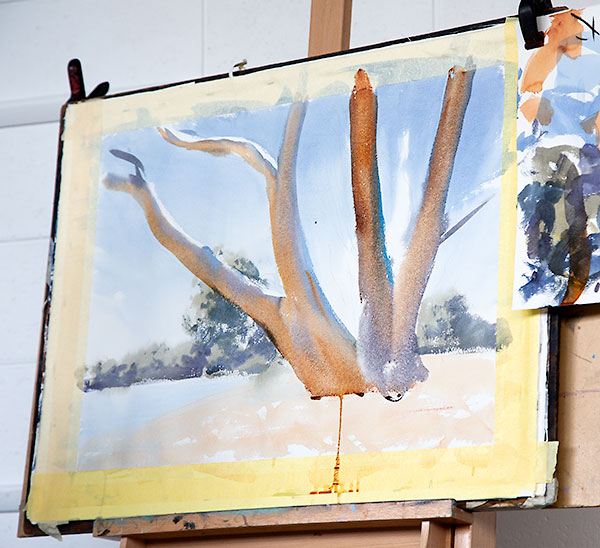
Creating the main trunks in the form of tubes.
True to his word, Greg proceeded to create convincingly 3 dimensional tree trunks using his ”tube” technique.
Referencing the work of John Singer Sargent, he urged us to look for the subtle blues and oranges that are generally found in white objects outdoors, reflected from the surrounding blue sky, the warm sunlight and other surrounding objects.
He used subtle variations on these colours to shade the tree’s white trunks and branches thereby emphasizing their three dimensional tubular form. Greg left slivers of unpainted paper to represent the brightest highlights resulting in a convincing depiction of a sunlit tree.
With deft brushwork, and sometimes using his fingers to soften shapes, Greg began adding detail and texture to the tree. The tree sprang to life. He painted in the shadows using a dark mauve colour which beautifully complemented the warm tones in the tree trunks. He scratched in random marks with his fingernails to create the impression of debris on the ground. He painted most of the foliage in large masses, with just a few distinct hanging leaves to signify the makeup of those masses to the viewer. Greg said his goal was to create an impression of structure and light, not photographic realism.
It was an absolute pleasure watching Greg’s masterful execution of this landscape painting in watercolour.
Greg will be running a 2 day workshop on 10 & 17 November.
Leoni Jenkin
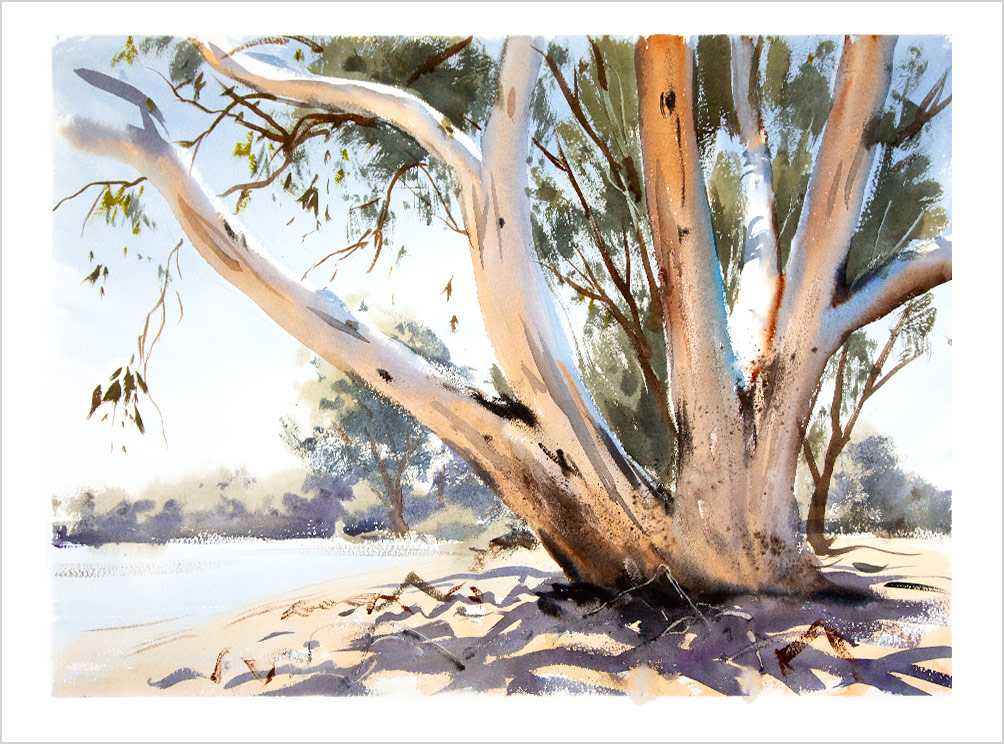
Greg Allen demo – completed watercolour painting
 Artwork Glenda Pitt, Photo Leoni JenkinPAS Turns 70